Destination Data
Destination data is required in a LifeSim study to represent possible evacuation locations during flooding events. The destination can either be a location within the flooded area that is considered a safe haven for evacuees or locations outside the flooding extents. The local Emergency Management Agency (EMA) can be a helpful resource for locating safe havens and for information on defining these types of locations. The Federal Emergency Management Agency (FEMA) provides contact information for EMAs.
The destination data is represented as points in space, LifeSim will find the nearest road from a destination point and consider that the evacuation location. The destinations do not have to be directly on a road; however, only one destination per road segment is allowed. A method to create destinations and define their location is detailed in Create Destination Locations Example.
Create Destination Datasets
To create a destination dataset from a shapefile:
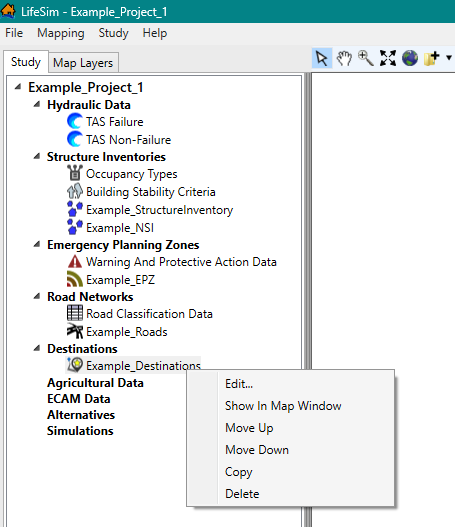
- From the LifeSim main window, from the Study tab, from the Study Tree, right-click on Destinations. From the shortcut menu, click Import Destinations From Shapefile (Figure). Another way is from the LifeSim main window, from the Study menu, point to Destinations Data (Figure), and click Import From Shapefile.
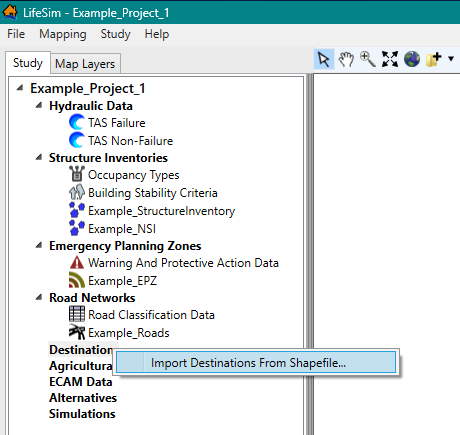
Figure: LifeSim Study Tree – Destinations Shortcut Menu 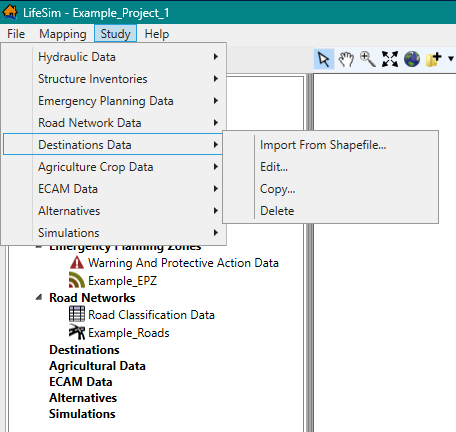
Figure: LifeSim Main Window – Study Menu – Destinations Data Sub-menu - Either way, the Import Destinations From Point Shapefile dialog box (Figure) will open.
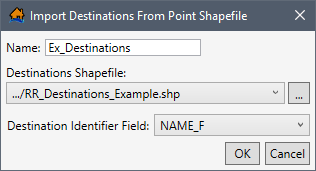
Figure: Import Destinations From Point Shapefile Dialog Box - Enter a name for the destination dataset in the Name box (Figure).
- To select the shapefile that contains information about destinations, to the right of the Destinations Shapefile dropdown menu (Figure), click
 . An Open browser window (Figure) opens; navigate to the directory where the desired point shapefile is located. Select the correct point shapefile (e.g., *.shp), click Open, the Open browser closes, and the user will be returned to the Import Destinations From Point Shapefile (Figure). The location and name of the selected point shapefile will display in the Destinations Shapefile dropdown menu.
Alternatively, if the desired shapefile has already been imported as a map layer into the LifeSim study, then from the Destinations Shapefile dropdown menu (Figure), select the desired map layer.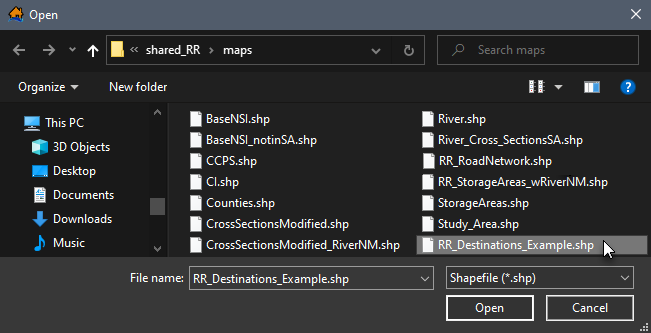
Figure: Open Browser Window - From the Destination Identifier Field dropdown menu (Figure), select the attribute field that identifies the destinations (e.g., destination names) in the selected shapefile.
- Click OK, and the Import Destinations From Point Shapefile dialog closes (Figure). From the LifeSim main window, from the Study Tree, under the Destinations folder, the name of the destination dataset is displayed.
Edit a Destination Dataset
To edit a destination dataset, from the LifeSim main window, from the Study tab, from the Study Tree, from the Destinations folder, right-click on a destination dataset. From the shortcut menu (Figure), click Edit. Another way is from the LifeSim main window, from the Study menu, point to Destinations Data (Figure), point to Edit, and click a destination dataset.
Either way, the Import Destinations From Point Shapefile dialog box (Figure) opens. The user can edit the Destination Identifier Field dropdown menu (Figure). Select the attribute field that identifies the destinations (e.g., destination names) in the selected shapefile. Click OK, the Import Destinations From Point Shapefile dialog closes.
Display a Destination Dataset
To display a destination dataset, from the LifeSim main window, from the Study tab, from the Study Tree, from the Destinations folder, right-click on a destination dataset. From the shortcut menu (Figure), click Show In Map Window. The selected destination dataset will display in the map window of the LifeSim main window.
Map layer attributes can be accessed for each map layer and is provided in a table for the dataset referenced by the map layer. The road network dataset must be displayed in the map window before the attribute table can be accessed. To access a specific map layer's attribute table, from the Map Layers tab, right-click on a map layer of interest. From the shortcut menu, click Open Attribute Table. The Map Layer Attributes dialog box opens; review Map Layer Attributes Dialog Box for more information. Editing of the map layer attributes is detailed in Editing Map Layer Features and Attributes.
Copy a Destination Dataset
To copy a destination dataset from an existing dataset, from the LifeSim main window, from the Study tab, from the Study Tree, from the Destinations folder, right-click on a destination dataset. From the shortcut menu (Figure), click Copy.
Another way is from the LifeSim main window, from the Study menu, point to Destinations Data (Figure), point to Copy, and click a destination dataset.
Either way, the Name of New Study Item dialog box (Figure) opens. Enter a new name in the Name box. Click OK, and the Name of New Study Item dialog box (Figure) closes and the copied destination dataset will display in the Study Tree under the Destinations folder.
Delete a Destination Dataset
To delete a destination dataset from the LifeSim study and study directory files, from the LifeSim main window, from the Study tab, from the Study Tree, from the Destination folder, right-click on a destination dataset. From the shortcut menu (Figure), click Delete.
Another way is from the LifeSim main window, from the Study menu, point to Destinations Data (Figure), point to Delete, and click a destination dataset.
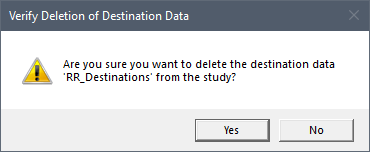
Either way, a Verify Deletion of Destination Data window (Figure) opens asking for confirmation to delete the selected destination dataset. Click Yes, the Verify Deletion of Destination Data message window closes, and the selected destination dataset is deleted and no longer displays in the Study Tree.