5 Create a Project
When you open RMC-TotalRisk, it automatically creates a Blank Project file, as shown in Figure 5.1. The blank project is stored in your local temp directory. You may begin working with the blank project file immediately.
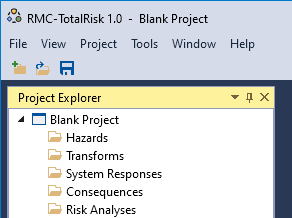
Figure 5.1: RMC-TotalRisk blank project.
To save changes to the blank project, click the Save button on the tool bar or under the File menu. This opens the Save Project As… prompt (Figure 5.2). Enter the desired file name and click the save button in the bottom right. Now you are ready to continue working with RMC-TotalRisk.
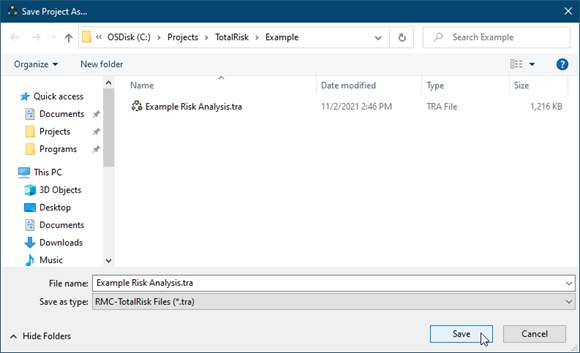
Figure 5.2: Save project as….
You can also create a new project by clicking New Project… under the File menu (Figure 5.3) or by clicking the New Project button on the tool bar (Figure 5.4). The first time you use RMC TotalRisk, the recent projects list will be empty.
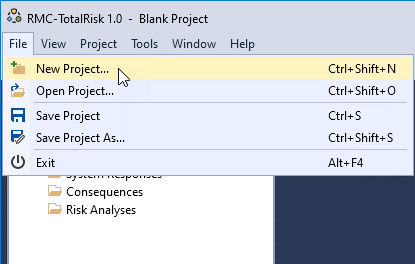
Figure 5.3: Create new project from the file menu.
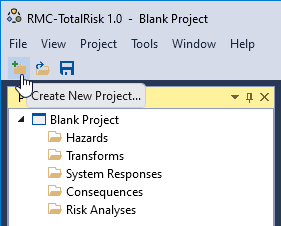
Figure 5.4: Create new project from the tool bar.
The project properties are shown in the Properties window (Figure 5.5), which is typically on the right hand side of the main window. You may edit the project name and description.
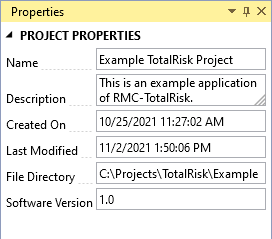
Figure 5.5: Project properties.